What a treat! I bought a few "old, battered, un-runnable" (my intended description) hoppers from a couple of guys online. They were slated for use as fixed scenery items on a module that "should" be finished over the winter.
Our mail lady just delivered the cars today. Oh, my, a number of them are far too good to attach like that - they will become a part of my rolling stock! At least the others, along with a few I already have, will probably get the scene completed.
Stay tuned - pictures later!
Wednesday, October 30, 2013
Tuesday, October 29, 2013
My first "Micro"
I am giving the program at the next Lubbock model club meeting. The subject chosen is micro layouts.
As a part of the program, I am building a micro. It's nothing fancy, nor will it be as detailed, at meeting time, as those seen on the excellent web page Micro/Small Layouts . There are over 110 pages of layouts built and imagined there. When you go, be sure you have some time to spend, savoring the variety of examples shown.
A "micro" is generally defined as four square feet or less, and can be a square, linear, or other form. A "small" is about 24 square ft., max. Note that there is no restriction as to scale or gauge. One of the more impressive layouts is the Squarefoot Estate Rwy, done in G scale - Gn15. And, it does feature a bit of operations, too!
Here's the plan for my example:

And, a couple of construction pictures:
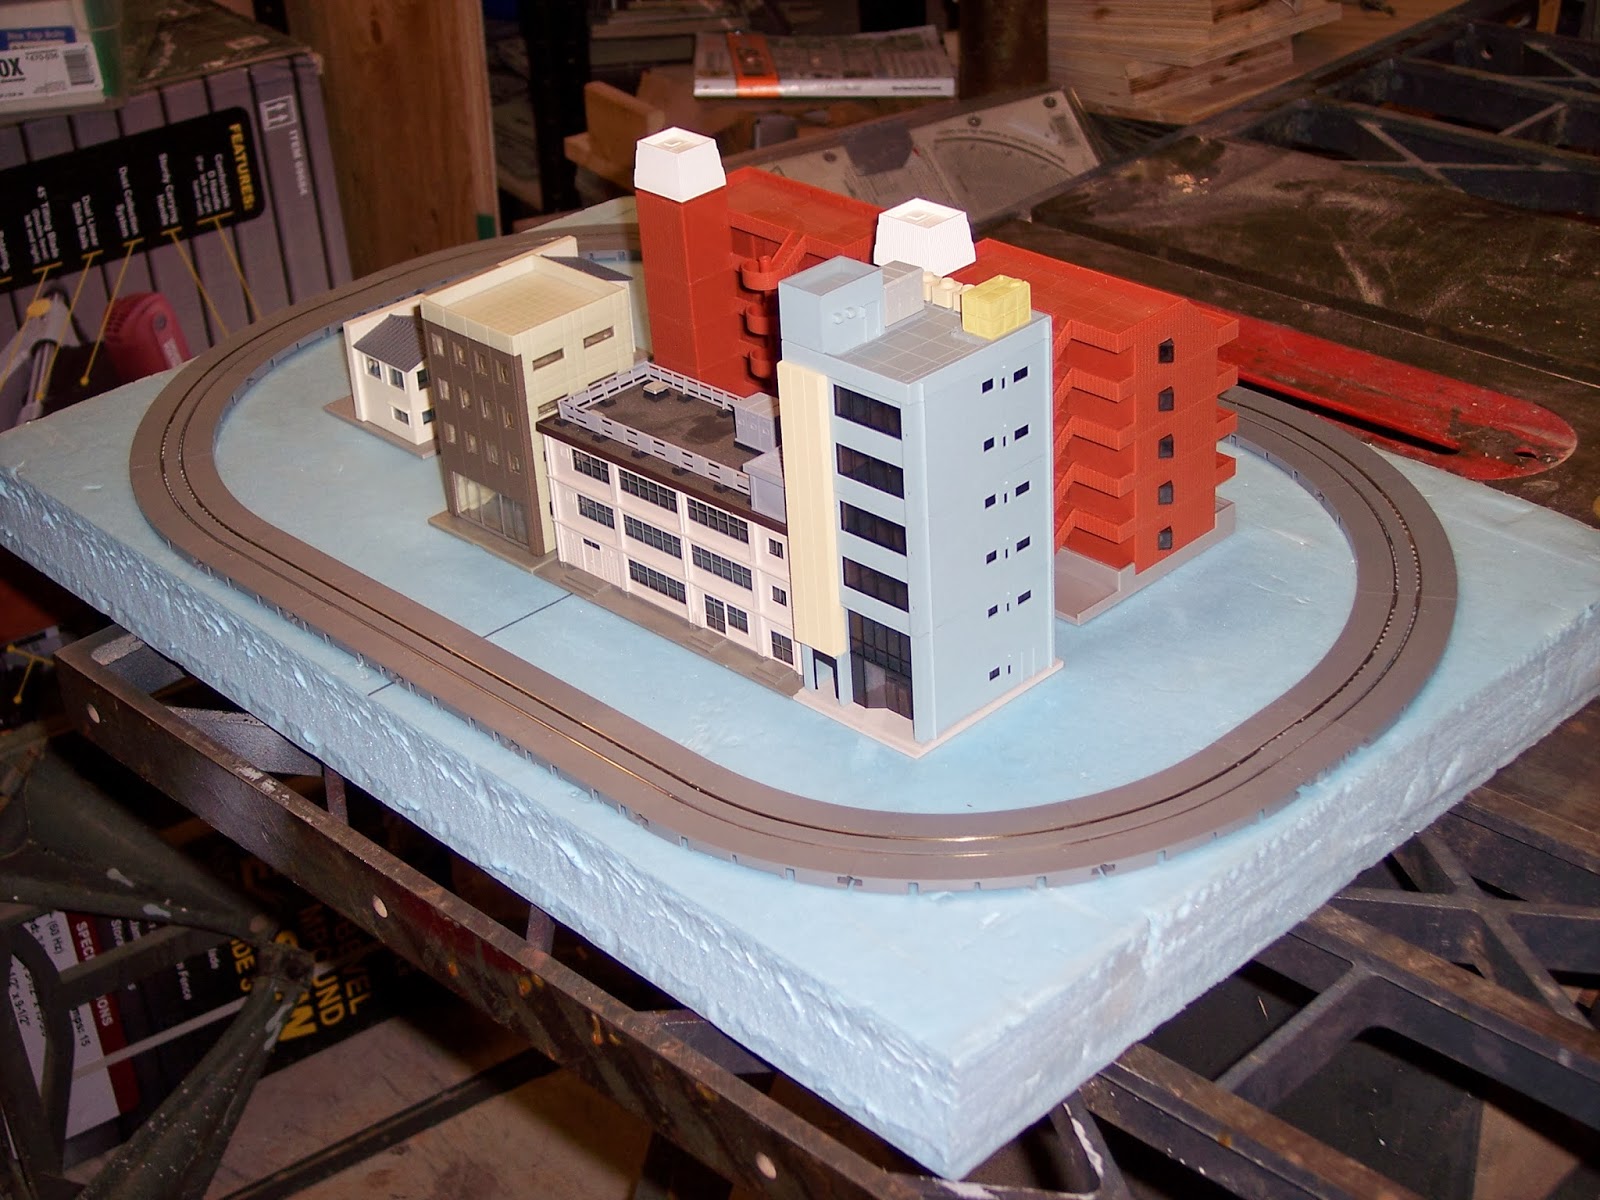
The small buildings hidden on the left side did not make the final design. Here's a couple of glimpses at tge construction:


I'm using Tomix Tram track, and the "ground" either side of it is built up with a layer of cork.
Lunch time, then back to the shop!
Back to elementary school - - -
On October 25, I did a small train show.This year makes the fourth time I've been invited to give a 1/2-day train show at an area elementary school. The teachers tie it in with the students (it's hard to think of 5-yr. olds as "students!") starting to learn about transportation.
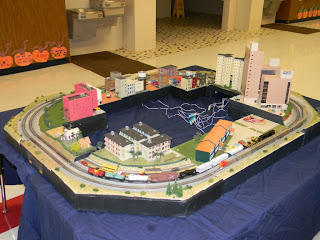
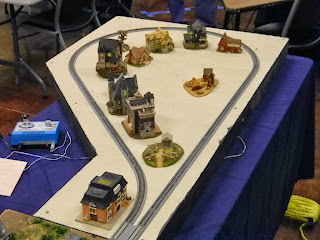
This year, six classes, with a total of 131 kids, were shown a small N-scale layout. It was so much fun to see their bright eyes, big smiles, and excited voices. I am well paid, indeed.
The layout was arranged in a square manner. It was a bit crowded around the tables as the classes came out, one class at a time. Next year I'll have to plan a layout with more "edge space" to lessen the crowding.
Here's a few pictures. The kids are not shown for obvious reasons.


A hit with them was the "fainting man." Back in a recessed area, a figure had fallen over.
The kids were concerned about him, deciding that a figure in (almost) white was a nurse going to check on him. Also, the emergency helicopter (it's on the layout) was coming to get him.

After all that ecxitment, I will have to go back and glue him down, permanently. Thanks, kids!
Friday, October 25, 2013
Finally, My First "Permanent" Home Layout
Like Joe, it's been too long since I posted anything. My latest project has been to construct a semi-permanent shelf in the shop where I can assemble modules and be able to run trains at home.
Sorry I didn't take any construction photos. It's pretty basic stuff. I already had a wall of adjustable shelving, so I decided to go with that. I lowered the shelf standards to match the height of my table saw out-feed table. Before too long I will no longer need it as I transition from module builder to train player.
Next I bought a sheet of 1/2" CDX plywood. I just barely had room at one end to put up a shelf for an end loop consisting of three alt-corners, two double straights and a junction. That piece of shelf ended up being about 54" x 30", held in the corner by 1 x 2 strips attached to the wall corners, and a 4 x 4 post holding it up under the corner in the room.
Then down the wall, I cut the remainder of the plywood in 18" wide sections, and layed them on the shelf standards. Trying to avoid excess cost, I added splicer boards along the way. I ended up with an 24' x 30' piece at the far end, under the return loop. I just added a leg brace and more 1 x 2 strips on the wal to hold that end in place.
Using shop scraps, I added facia top and bottom with 1 x 2 's and added 1/8" masonite over that to create a nice clean look. You really cannot tell that is is mostly just a hunk of plywood sitting on shelf brackets.
I decided that I needed some lighting for the layout. I found some 24" mini-fluorescents at Home Depot that can be daisy-chained with just one plug-in. I ended up with 7 of them, and mounted them up under the top valence, completely hidden from view.
Next step was to create some type of skyboard to cover up the ugly wafer-board walls and to keep the light from heading up to the ceiling through the wire shelves above the layout. Hobby Lobby matting board to the rescue. I got the last 5 pieces of a nice sky blue and just wedged them in place at the top and stabled them to cleats along the wall just above the shelf. '
It was a very inexpensive, quick and easy project that took me a total of about two weeks, working just in the evenings.
It has allowed me to assemble about 1.75 scale miles of track in a continuous run loop, where I can FINALLY run my own trains at home, without having to wait for a show.
You can view the first run of a train over the layout at this youTube video: http://youtu.be/d3RFmXmTDxk
Monday, October 21, 2013
Wolfforth Library Show, October 18-19, 2013
It's been a while - - -
Far too long since my last post. I am setting a goal of making posts regularly, and certainly more often.
As for this post, the group just finished a 2-day show at the Wolfforth Public Library. It was a good show. The turnout was light, but those who did come seemed to enjoy the layout of about 42 modules.
We seem to be getting better with the setup. Several long trains (ATSF Super Chief, 4 engines and 12 cars) ran for hours without intervention. No stalling, no derails, no random uncouplings. It was a smooth running layout.
Here's a few pictures from the show, primarily new modules from KenW and Frankie A:


And a few other modules as well:


That's about all from me. Maybe some others will jump in with a comment or picture as they saw the show.
Friday, September 16, 2011
The Quadopus Takes Form
It's not finished, but I'm making progress on a box for my DCC
system. It has a Digitrax DCS200 command station and, hidden
underneath, a PM42 power monitor card that provides outputs
for four separate power districts via the blue/white Power Pole
connectors. Two connections for the Loconet cables are also
available for the throttle connections.
The lid will mount on lift-off hinges, so there is no danger of it
slamming shut while in operation, damaging cables.
Not real pretty, but the 3/4" plywood should make it very
sturdy for portable use at shows.


Sunday, July 17, 2011
July 17 - I started the assembly of the new power cables to use with the Digitrax DCC system we (BJ and I) are starting to learn. With help from various people "out there," I made a drawing of the cables and connectors to help get everything straight in the mind before starting the assembly. And, here's a couple of pix of my first (short) cables. A number of long (~8'3") cables are under construction, almost finished. All will have a Kato compatible drop. I call this the 'away' end, as in 'away from the Cmd Stn.'
We (BJ mainly, and I) are looking into easy to apply mid-span taps. More on that later, after our Aug. 12-13 show.
I spent a lot of time looking at the housings and contact pins, and finally was able to 'think through' the issues, including pin orientation while crimping, before starting.
There will be two versions of the Cmd Stn pigtail. One is straight to the Power Pole connectors, and the other is through a PM42 Pwr Mgr card, with four fan-outs.
In addition, there are three special 2' long cables. These have Kato triple blocks on them rather than the single connector. The Rattlesnake Junction module requires additional connections for all the tracks, so these were created to fulfill that need.
Joe
20110713-3, 20110717-1


Subscribe to:
Comments (Atom)